Adding Logos
A logo set is a collection of image assets — including the primary logo, variant logos, favicon, and optional home page banner — grouped under a single name for easy assignment to builds. Organizing logos into sets makes it straightforward to switch the complete visual identity of a site, or to maintain separate sets for different environments or brands.
Creating a Logo Set
Navigate to Assets > Logo Sets in the main navigation.
Click New Logo Set.
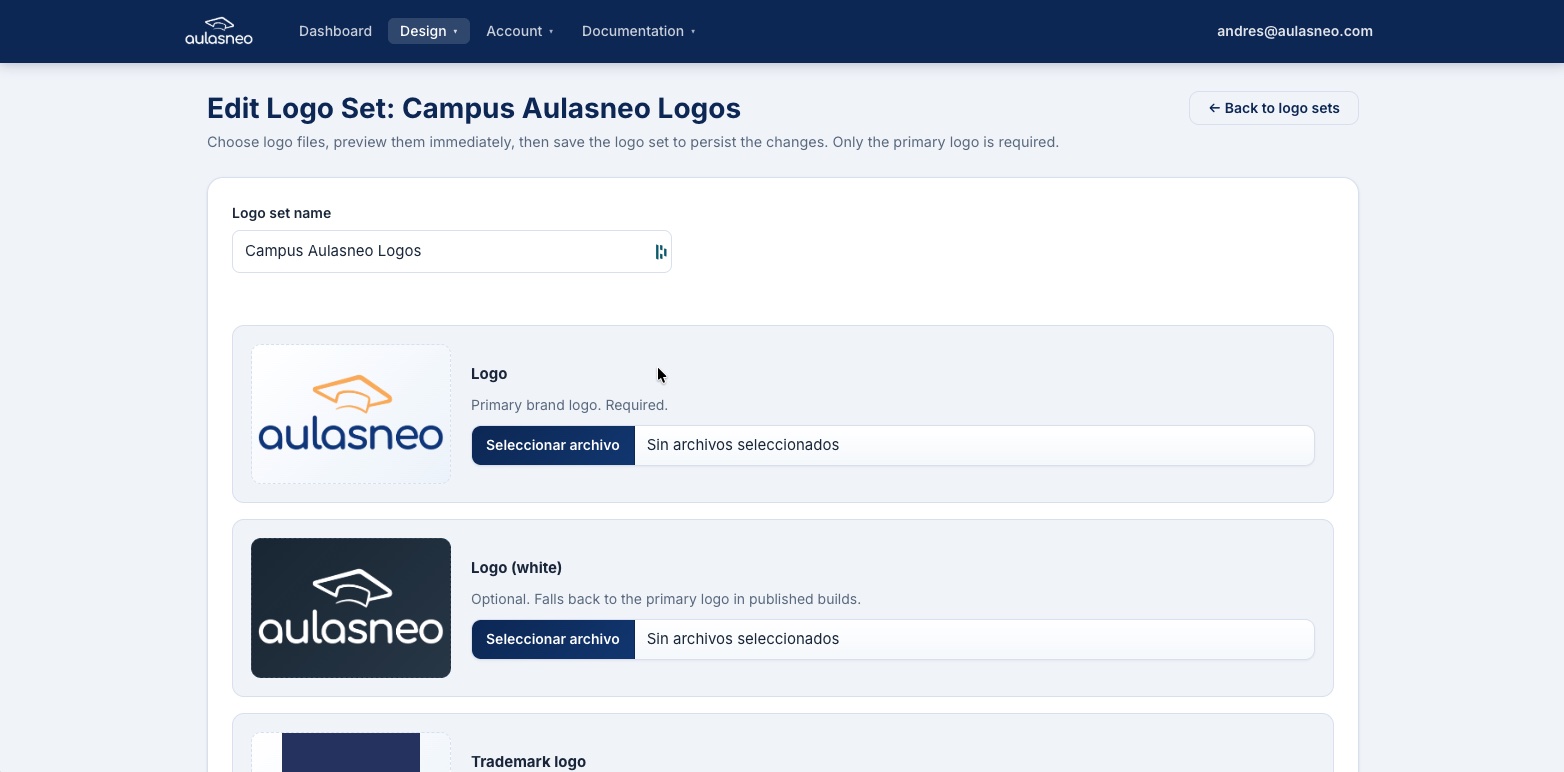
Enter a descriptive name for the set.
Upload the required and optional assets as described below.
Click Save Logo Set.
The logo set list provides an overview of all logo sets with options to edit, preview, or delete each one.
The logo set editor provides separate upload fields for each image asset type, along with inline preview thumbnails.
Image Assets
The following assets can be uploaded in a logo set:
Main Logo (Required)
The primary logo displayed in the site header and in most branded locations. This is the only mandatory asset.
Accepted formats: PNG, JPEG, WEBP, BMP, GIF
White Logo (Optional)
A variant of the main logo designed for display on dark backgrounds. If not provided, the main logo is used in its place wherever a white logo would normally appear (such as the login and registration pages).
Accepted formats: PNG, JPEG, WEBP, BMP, GIF
Trademark Logo (Optional)
A variant used specifically in footer contexts, typically a smaller or simplified version of the main logo that includes trademark notation. If not provided, the main logo is used.
Accepted formats: PNG, JPEG, WEBP, BMP, GIF
Favicon (Optional)
The small icon displayed in browser tabs, bookmarks, and browser history entries.
Accepted source formats: PNG, JPEG, WEBP, BMP, ICO
When you upload a non-ICO source image, the platform automatically processes it as follows:
The source image is scaled to a maximum of 64×64 pixels, maintaining aspect ratio.
A multi-size ICO bundle is generated with the following sizes: 16×16, 32×32, 48×48, and 64×64 pixels.
If you upload a file in .ico format directly, it is stored and served as-is without
any processing.
Previewing Assets
After saving a logo set, each uploaded asset displays an inline preview thumbnail. Click on any preview to view the image at full size in the browser.
Editing a Logo Set
To replace an existing asset, open the logo set editor and upload a new file to the corresponding field. The new file replaces the previous one. There is no need to delete the old file first.
Deleting a Logo Set
A logo set can be deleted from the logo set list if it is not currently referenced by any build. If the logo set is assigned to one or more builds, you must remove or update those builds before the logo set can be deleted.
Best Practices
Prepare all logo variants before uploading. Having the main, white, and trademark logo variants ready in advance simplifies the setup process and ensures visual consistency from the start.
Use vector-exported PNG files. PNG files exported from vector artwork (SVG, AI, EPS) at a minimum width of 400px tend to render crisply at all sizes across devices.
Keep logos on transparent backgrounds. Logos with transparent backgrounds adapt correctly to different header background colors, including dark mode backgrounds.
Test the favicon at small sizes. Favicons must remain recognizable at 16×16 pixels. If your logo contains fine text, consider uploading a simplified icon-only version as the favicon source.