Quick Start
This guide walks you through the minimum steps required to go from a new account to a live custom theme on your Open edX site.
Overview
The workflow consists of four stages:
Create a CSS theme with your colors and typography.
Create a logo set with your organization’s images.
Create a build that combines the theme and logo set.
Apply the Tutor command to connect your site.
Step 1: Create a CSS Theme
Navigate to Themes in the main navigation menu.
Click New Theme.
Enter a descriptive name for your theme (for example, “My Organization Theme”).
In the Color Palette section, use the color pickers or enter hex values to set your primary and brand colors. At minimum, set the
primary,brand, andinfocolors to match your organization’s identity.If you have specific typography requirements, set the font family for body text and headings in the Typography section. Custom fonts require a font set — see Adding Custom Fonts for instructions on adding them first.
Click Save Core Theme.
Tip
For a first pass, focus on the palette colors. You can always return to refine spacing, typography, and advanced properties later.
Step 2: Create a Logo Set
Navigate to Assets > Logo Sets in the main navigation.
Click New Logo Set.
Enter a name for the logo set.
Upload your main logo (required). Accepted formats are PNG, JPEG, WEBP, BMP, and GIF.
Optionally upload:
A white logo variant for use on dark backgrounds (such as the login page).
A favicon source image. If you upload a non-ICO image, the platform automatically converts it to a multi-size ICO bundle.
A trademark logo for footer display.
A home page banner background image.
Click Save Logo Set.
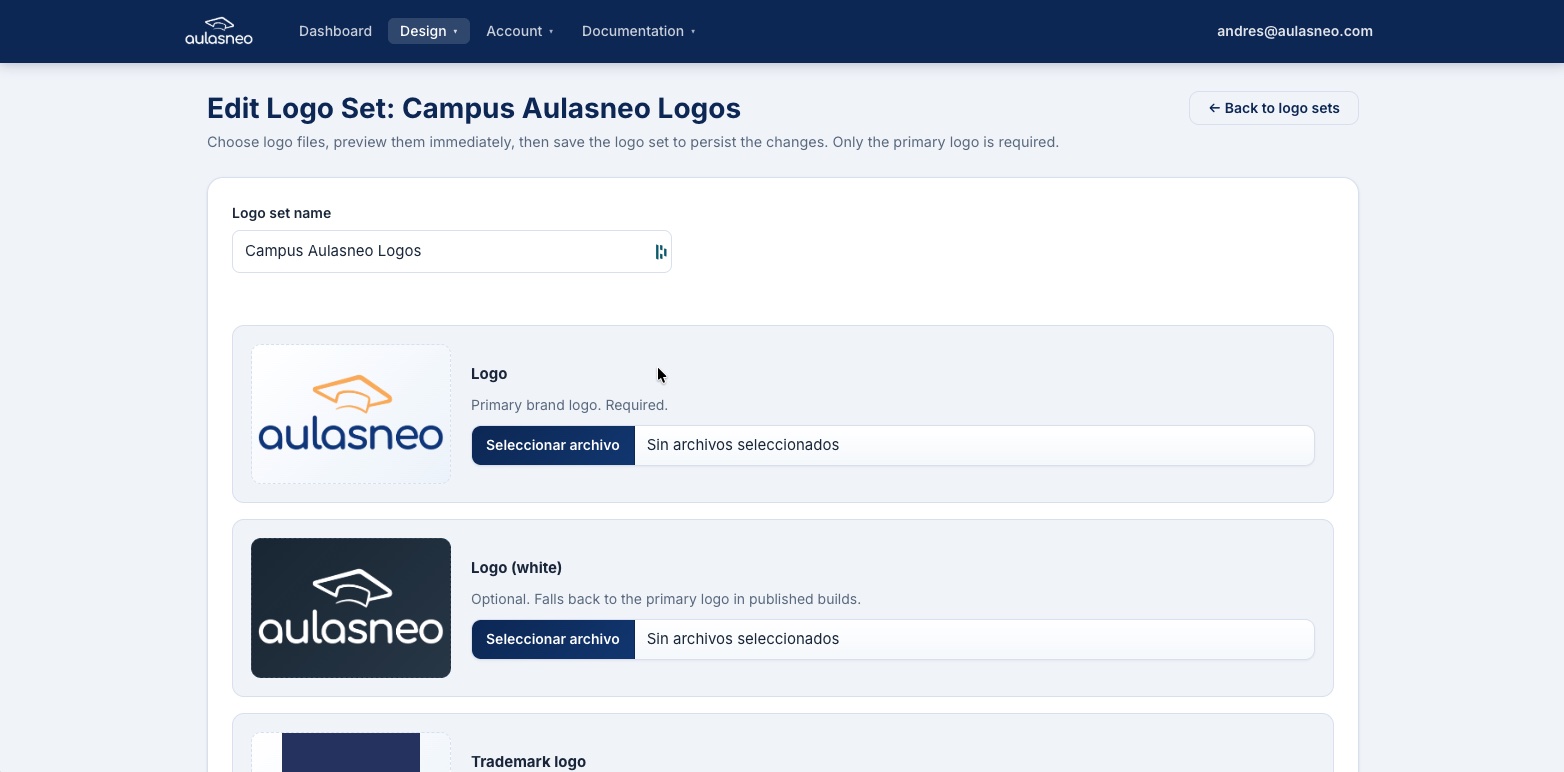
The logo set editor allows you to upload multiple logo variants and a favicon in a single form.
Step 3: Create a Build
Navigate to Assets > Builds in the main navigation.
Click New Build.
Enter a name for the build (for example, “Production Build – v1”).
Select the CSS theme you created in Step 1 from the Theme drop-down.
Select the logo set you created in Step 2 from the Logo Set drop-down.
In the Allowed Origin field, enter the base URL of your Open edX MFEs. In most Tutor installations this takes the form
https://apps.example.com.Click Save Build.
The build will be compiled automatically. Once the status changes to Published, the Copy Tutor Command button will become available.
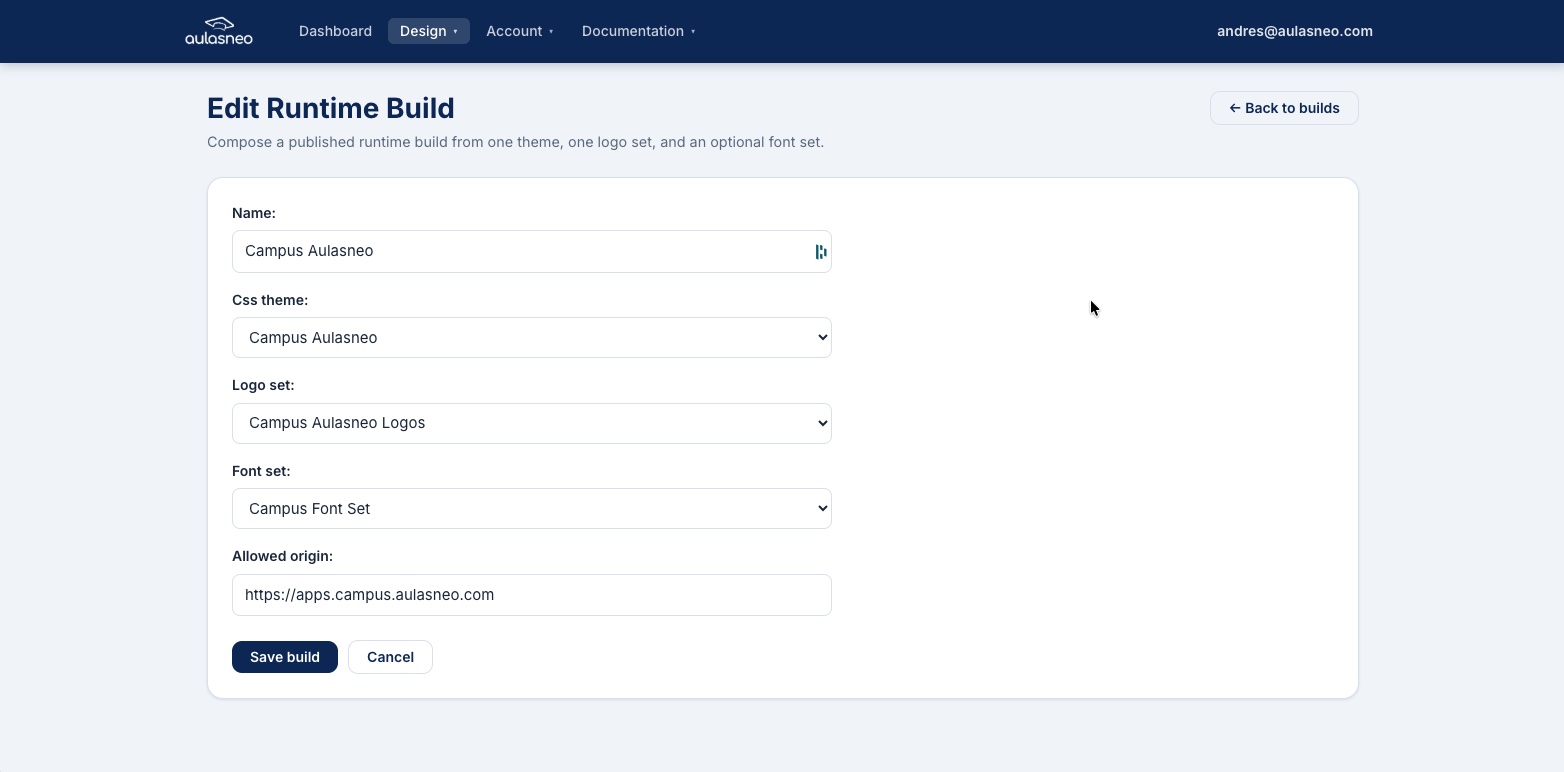
The build editor combines a theme, logo set, and font set into a deployable package.
Step 4: Apply the Tutor Command
In the build list, click Copy Tutor Command next to your published build.
Open a terminal on your server in the Tutor virtual environment.
Paste and run the copied command.
Save the Tutor configuration and restart the LMS:
tutor config save
tutor local restart lms
Perform a hard refresh in your browser (Ctrl+Shift+R or Cmd+Shift+R) to clear cached CSS and see your new theme.
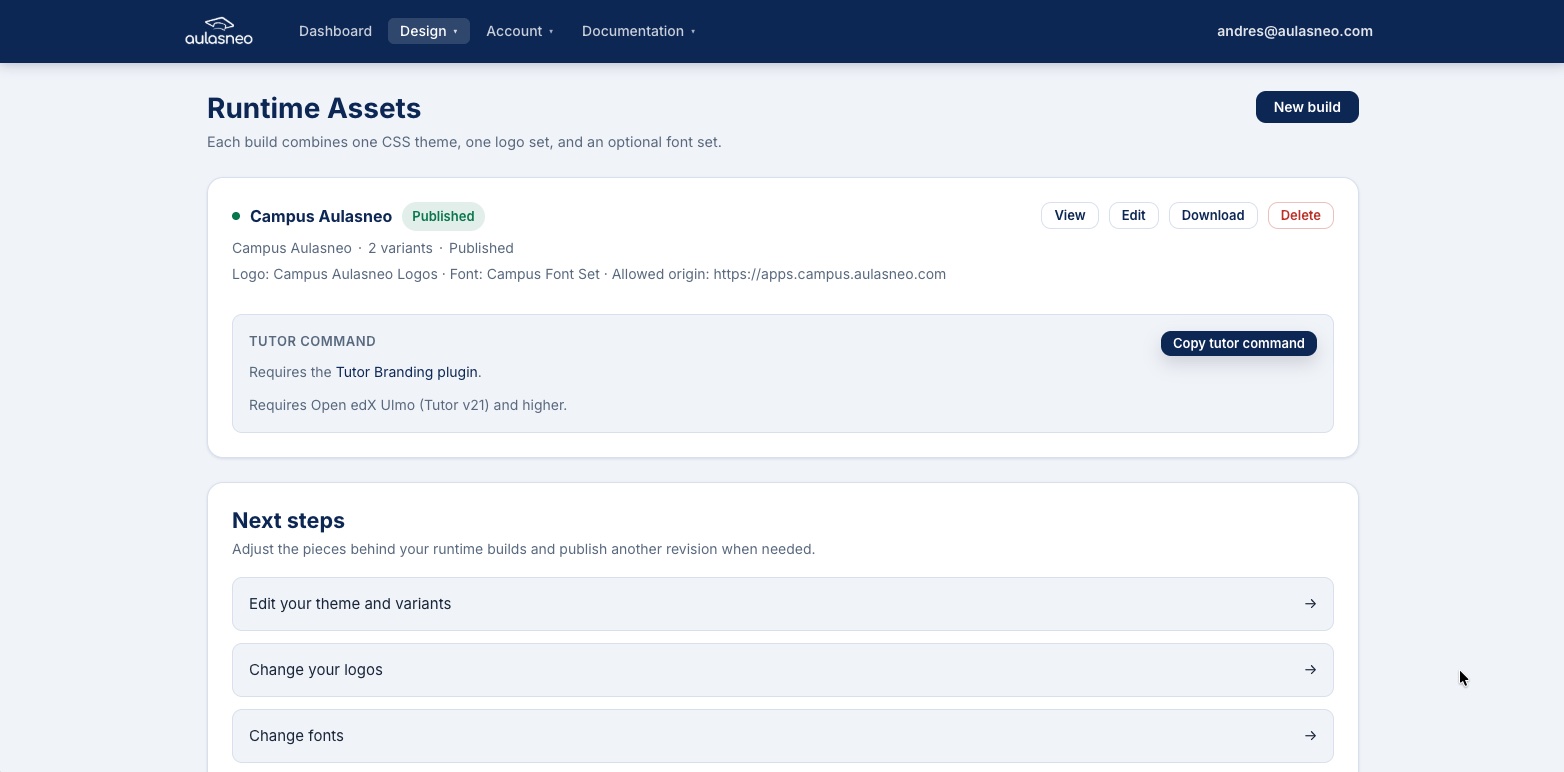
The build list shows the status of each build and provides the Copy Tutor Command button for published builds.
Making Changes After Initial Setup
Once the initial setup is complete, most visual changes require only:
Editing the theme or variant in the Branding by Aulasneo interface.
Saving the changes.
Performing a hard browser refresh on your Open edX site.
There is no need to rebuild Docker images, restart services, or re-run the Tutor command for color, typography, or CSS override changes. See Installation for a full list of cases that do and do not require re-running the Tutor command.